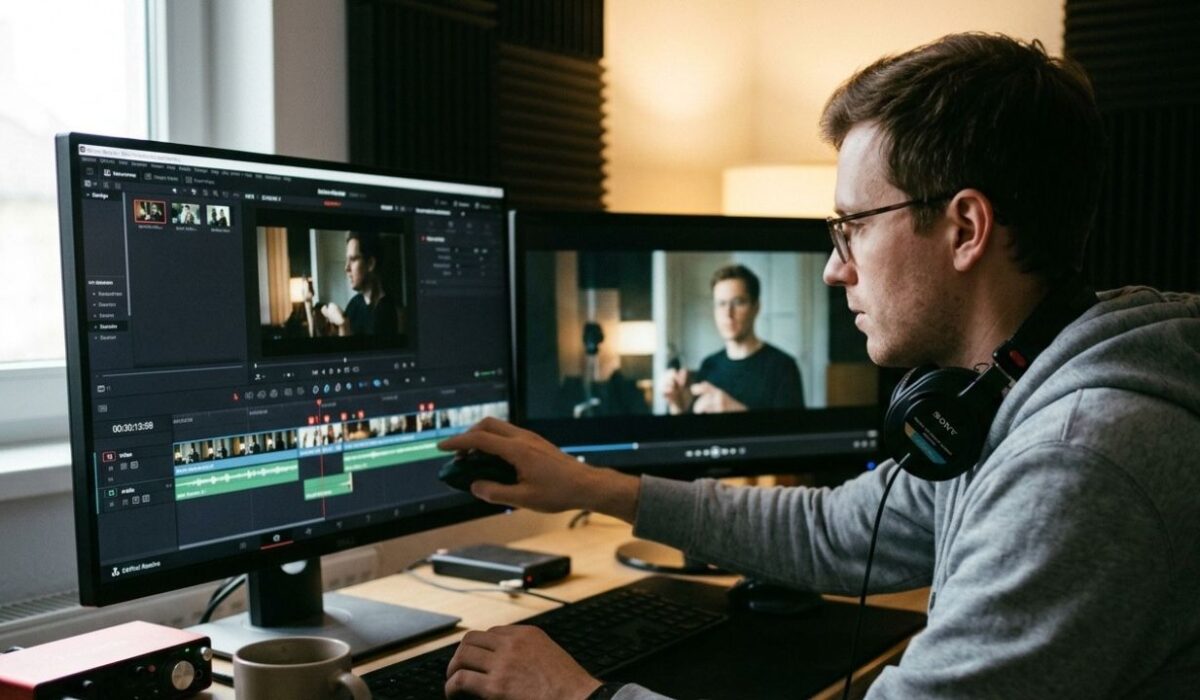
Audio synchronization is essential for professional video editing. Dialogue should match a speaker’s movements, sound effects should align with visual actions, and music should follow the intended timing of a scene.
However, you may sometimes notice that audio plays before or after the video in DaVinci Resolve. The problem might appear during editing, after importing footage, or only when you export the finished project.
The cause is not always the same. Incorrect clip alignment, variable frame rate footage, mismatched project settings, playback performance, or export-related issues can all produce similar symptoms.
This guide explains how to diagnose a DaVinci Resolve audio out of sync problem and choose an appropriate fix without unnecessarily rebuilding your project.
Quick Answer: How Do You Fix Audio Out of Sync in DaVinci Resolve?
First, determine whether the audio is out of sync inside the timeline or only in the exported video. Play the original footage in another media player to check whether the source file is already affected.
If the problem occurs in the timeline, inspect the audio and video alignment, clip frame rate, and project settings. If it appears only after export, render a short test and compare it with the timeline.
For footage recorded with a variable frame rate, consider converting a copy to a constant frame rate using a trusted video conversion tool. Test the converted file in a new timeline before replacing your original media.
Always duplicate your project or create a backup before making substantial changes.
1. Identify When the Audio Sync Problem Occurs
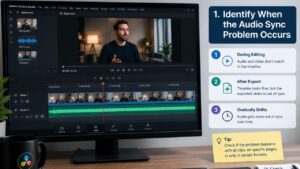
Before changing settings, establish where the synchronization problem begins. This saves time because a timeline issue requires a different investigation from an export-only issue.
Audio is out of sync during editing
If dialogue does not match the video while playing in the Edit page, inspect the source clip, timeline alignment, and playback behavior. Check whether the audio and video were recorded together or imported as separate files.
Audio becomes out of sync after export
If the timeline appears correct but the exported file does not, investigate the render settings, source media, and playback application. A playback delay on your computer can also make synchronization appear incorrect.
Audio gradually drifts out of sync
If the beginning of a clip looks correct but the mismatch increases over time, investigate variable frame rate footage, differing recording or timeline frame rates, and possible timing problems in the source file.
A gradual drift is different from a constant offset. Moving the entire audio track may correct the beginning while making the end even less accurate.
2. Check Whether the Original Video Is Already Out of Sync
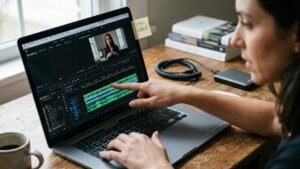
The first practical test is to play the original video outside DaVinci Resolve.
Open the source file in a reliable media player and compare visible actions with the corresponding sound. For example, check whether a spoken word matches the speaker’s mouth movements.
If the original file is already out of sync, the problem may have occurred during recording, file conversion, or an earlier editing stage.
If the source plays correctly elsewhere but not in Resolve, investigate how Resolve interprets the media and how the project is configured.
Keep the original file unchanged while troubleshooting. This gives you a reliable reference for later comparisons.
3. Check Your Timeline and Project Frame Rates
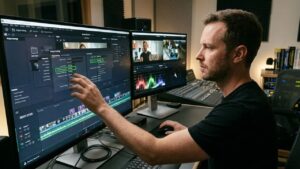
Frame rate determines how many video frames are displayed each second. Common video frame rates include 24, 25, 30, 50, and 60 frames per second.
A mismatch between source footage and the timeline does not automatically cause audio synchronization problems. DaVinci Resolve can work with mixed frame rates. However, incorrect interpretation, retiming, or conversion can contribute to timing issues in particular workflows.
To investigate your settings:
- Open your project in DaVinci Resolve.
- Review the project’s timeline frame rate in the project settings.
- Check the frame rate and properties of the affected source clip.
- Confirm whether the clip has been sped up, slowed down, or retimed.
- Compare a short section with the original source file.
Be careful when changing the timeline frame rate after editing has begun. Some project settings may be restricted or may affect your existing timeline. Do not change the entire project simply because one source clip uses a different frame rate.
For more complex projects, test changes in a duplicate project first.
4. Investigate Variable Frame Rate Footage
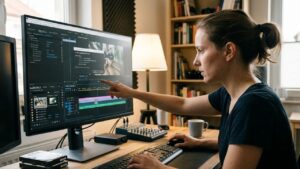
Variable frame rate (VFR) footage does not maintain one constant frame rate throughout the recording. Smartphones, webcams, screen recorders, and some capture applications may produce files with variable frame timing.
This can cause difficulties in editing workflows that expect consistent frame timing. Blackmagic Design’s community forum contains discussions of audio synchronization issues involving webcam footage and variable frame rates.
How to check for variable frame rate
Use a media-information utility to inspect the source file. Look for its frame rate information and whether the recording uses a constant or variable frame rate.
Do not rely on a single average frame-rate number to determine whether footage is constant frame rate. Review the available frame-rate details and recording information.
How to test a constant frame rate conversion
If the footage is confirmed to use a variable frame rate and is causing problems, create a converted copy with a constant frame rate appropriate for your project.
A reputable converter such as HandBrake can be used for this type of conversion. Review its frame-rate options and choose a suitable constant frame rate for your footage and editing workflow.
After conversion:
- Import the converted copy into a test project or duplicate timeline.
- Compare its audio with the original recording.
- Check synchronization near the beginning, middle, and end.
- Confirm that the conversion has not introduced a new mismatch.
- Use the converted file only if the test produces the expected result.
Conversion is not a universal fix. If the source is already constant frame rate, investigate other possible causes instead.
You can review relevant discussions in the official Blackmagic Design forum.
5. Check Whether the Audio and Video Clips Are Misaligned
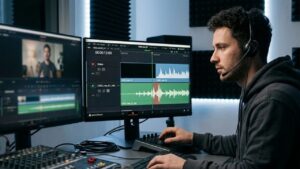
Sometimes the source media is fine, but the audio and video have been moved relative to each other on the timeline.
This can happen when editing separate dialogue recordings, moving clips independently, or adjusting the timing of a sequence.
Zoom into the affected section of the timeline. Inspect the audio waveform and compare it with the corresponding action in the video.
If the recording contains a clear clap, spoken word, or other identifiable sound, use that event as a reference.
If the audio is consistently early or late by the same amount, you may be able to correct the alignment by moving the audio clip. However, first confirm that the mismatch is actually caused by timeline placement.
Avoid making arbitrary adjustments based only on how the clip sounds during choppy playback.
6. Distinguish Playback Lag from a Real Sync Problem
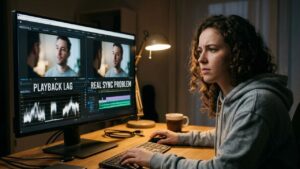
DaVinci Resolve may struggle to play demanding footage smoothly on a computer with limited available resources. High-resolution media, complex effects, noise reduction, and multiple video tracks can affect playback performance.
Choppy playback can make it difficult to judge synchronization accurately.
To investigate, try playing a short section with fewer demanding effects. You can also test proxy media or optimized media if your workflow supports them.
Compare the result with the original file and a short exported sample.
If playback improves but the exported file remains synchronized, the issue may have been related to real-time playback rather than the actual timeline timing.
Do not permanently move audio clips to compensate for playback lag. That can introduce a genuine synchronization error into an otherwise correct edit.
7. Troubleshoot Audio That Is Out of Sync Only After Export
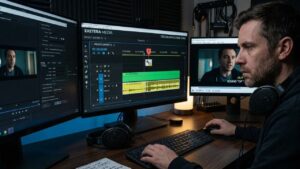
If the timeline appears correct but the exported file is not, use a controlled export test.
First, export a short section containing clear dialogue or a recognizable sound event. Use a standard format and audio configuration supported by your workflow.
Then play the exported file in a reliable media player. Compare it with the timeline and the original source.
If the problem persists, try the following checks:
- Confirm that the intended timeline and audio tracks are included in the export.
- Check that the audio export settings use an appropriate format and sample rate.
- Review any speed changes, retiming, or unusual processing applied to the clips.
- Clear old render cache when there is evidence that cached output may be involved.
- Export a fresh test after changing one setting at a time.
- Compare the file in another media player to rule out player-specific behavior.
If only one export format produces the problem, test another suitable format to help isolate the cause. This is a diagnostic step, not proof that a particular format is defective.
The Blackmagic Design forum includes discussions of synchronization problems that appear during rendering. The exact cause and solution can differ between projects.
8. Check Audio Sample Rate Settings
Audio sample rate describes how many audio samples are recorded each second. Common rates include 44.1 kHz and 48 kHz.
A difference between the sample rates of source recordings and project settings does not automatically mean the audio will drift out of sync. However, unusual conversion workflows or incorrectly interpreted media can contribute to audio problems.
Review the properties of the affected audio file and your export configuration. For video projects, 48 kHz is a common production audio rate, but your requirements may differ.
If you convert an audio file, preserve the original and compare the converted version before using it in the final project. Avoid repeatedly converting files without a clear reason.
If the synchronization problem remains, check whether the issue is related to the file’s timing, sample-rate interpretation, or another part of the editing workflow.
Troubleshooting Checklist
Use this table to decide which test to perform next.
| Symptom | First thing to investigate |
|---|---|
| Audio is already out of sync in the source file | Original recording or previous conversion |
| Audio is wrong only in Resolve | Clip properties, timeline alignment, and media interpretation |
| Sync becomes progressively worse | Variable frame rate or timing differences |
| Playback is choppy but export is correct | Playback performance and demanding effects |
| Timeline is correct but export is not | Render settings, cache, tracks, and export format |
| Audio is consistently early or late | Clip alignment or a fixed timing offset |
| Only one converted file has the problem | Conversion settings and the converted media |
These are diagnostic starting points, not guaranteed explanations. Confirm the cause before making permanent changes.
How to Prevent Audio Sync Problems in Future Projects
A few habits can reduce the chance of synchronization problems during editing.
Check source media early. Review important recordings before building a complex timeline. If a recording is already affected, address it before editing the entire project.
Use a consistent workflow. Choose project settings deliberately and understand how your source footage will be interpreted. Mixed frame rates can be valid, but they should be handled intentionally.
Keep original media. Preserve original recordings and create converted copies when testing alternative formats or frame rates.
Test exports before delivery. Export a short section early in the project. Confirm that dialogue, music, and sound effects remain synchronized.
Keep backups. Save project versions before making major changes to timing, media interpretation, or export configuration.
These practices make troubleshooting easier and help prevent a small technical issue from affecting an entire finished video.
Conclusion
A DaVinci Resolve audio out of sync problem can originate in the source recording, timeline, playback environment, or export process. The most effective fix depends on identifying where the mismatch begins.
Start by checking the original footage and comparing it with the timeline. Then investigate frame-rate interpretation, clip alignment, playback performance, and export settings as needed.
If variable frame rate footage is responsible, test a constant frame rate conversion before replacing the original media. If the timeline is correct but the export is not, use short test renders to narrow down the cause.
A systematic approach is more reliable than moving audio clips randomly or changing several settings at once. It helps preserve your edit while making it easier to deliver a video with properly synchronized sound.
Frequently Asked Questions
Why is audio out of sync in DaVinci Resolve?
Possible causes include misaligned clips, variable frame rate footage, incorrect media interpretation, playback performance, or an export-related issue. First determine whether the problem occurs in the source file, timeline, or exported video.
How do I fix audio that gradually drifts out of sync?
Check whether the source footage uses a variable frame rate. Inspect the source and timeline properties, then test a constant frame rate conversion if appropriate. Confirm synchronization at several points before replacing the original media.
Why is my audio synchronized in the timeline but not in the exported video?
Investigate the render settings, included tracks, source media, cache, and playback application. Export a short test and compare it with the timeline before changing the entire project.
Should I change my project frame rate to fix audio synchronization?
Not automatically. A different source and timeline frame rate does not necessarily cause a sync problem. Check the clip properties and project configuration first, and test significant changes in a duplicate project.
Can proxy media fix audio sync problems?
Proxy media can help when demanding footage causes poor playback performance. However, proxies will not necessarily fix incorrectly aligned clips or timing problems in the original recording. Test the source and export before deciding that proxies are the solution.
What audio sample rate should I use for video editing?
A 48 kHz sample rate is common in video production, but the appropriate setting depends on the source material and delivery requirements. Check your workflow before converting existing audio.